How to Convert CSV to QBO for QuickBooks
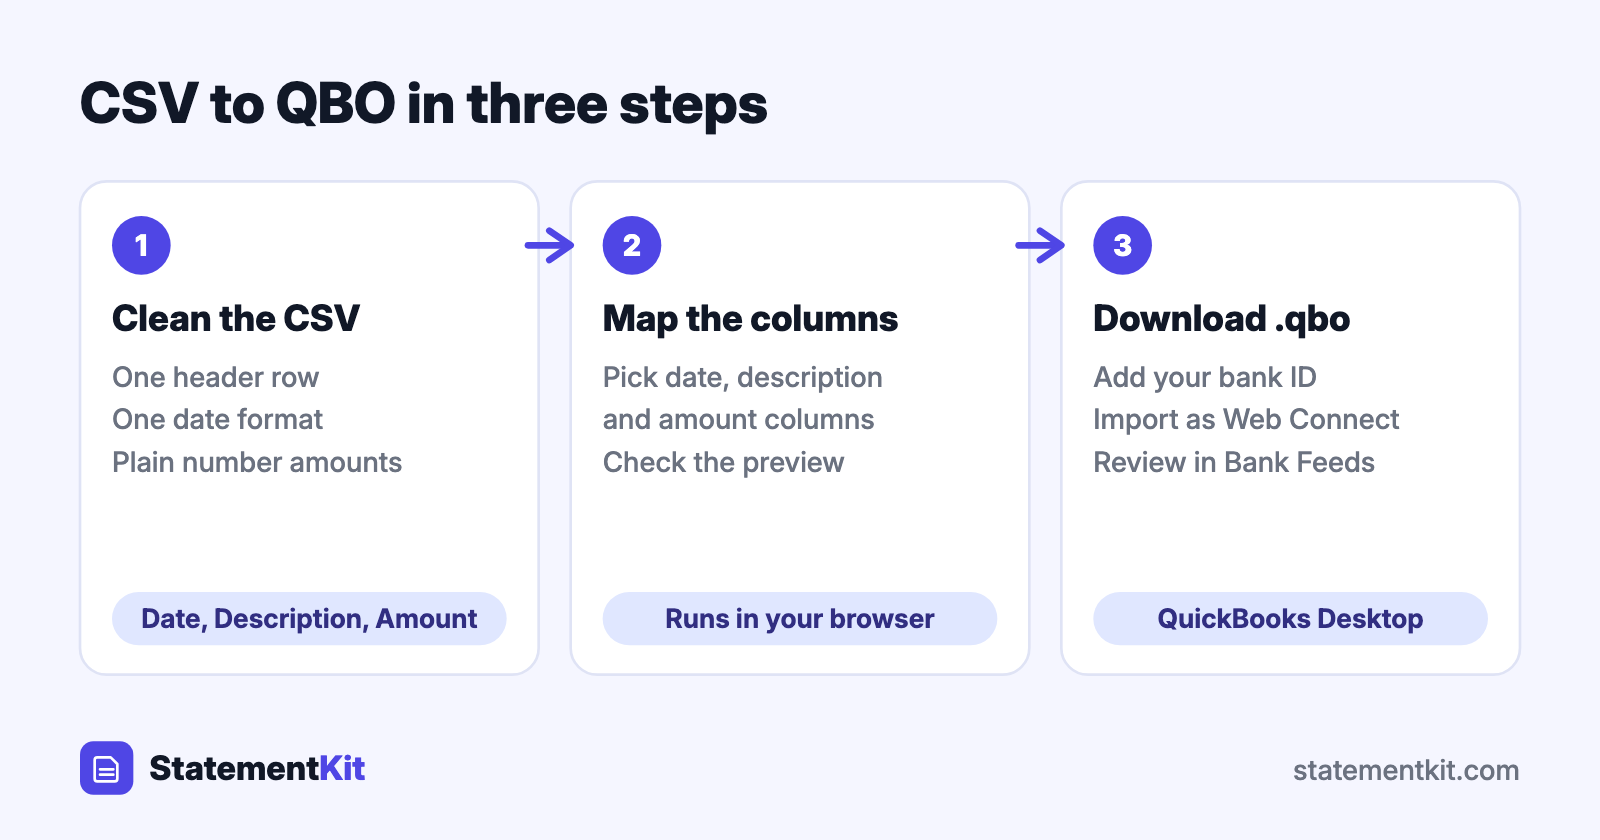
QuickBooks Desktop brings bank transactions in through bank feeds, and bank feeds read one file type: the .qbo Web Connect file. Plenty of banks, credit unions, and payment services export CSV only. Converting that CSV to QBO closes the gap and lets you match and categorise transactions in the Bank Feeds Center.
This guide shows how to prepare the CSV, convert it, and import the file.
First, check whether you need QBO at all
- QuickBooks Online accepts CSV directly under Transactions > Bank transactions > Upload from file. If you use the online product, upload the CSV and skip the conversion. The QuickBooks import guide covers that route.
- QuickBooks Desktop (Pro, Premier, Enterprise) needs a
.qbofile for bank feeds. This is where conversion earns its place.
Step 1: Prepare the CSV
A converter reads three things from each row: a date, a description, and an amount. Open the CSV in Excel or Google Sheets and tidy it up:
- Keep one header row, with the transactions starting on the next row. Delete title lines, account summaries, and totals above or below the data.
- Use one date format all the way down, such as
11/03/2026. - Keep amounts as plain numbers:
-42.18for money out and1500.00for money in. Remove currency symbols and thousands separators. - If the bank uses separate Debit and Credit columns, leave them as they are. A good converter lets you map both.
- Save the file as CSV (comma delimited).
A cleaned file looks like this:
Date,Description,Amount
11/03/2026,CITY HARDWARE 0447,-42.18
11/04/2026,ACME PAYROLL DIRECT DEP,1500.00
11/05/2026,MONTHLY SERVICE FEE,-12.00
Step 2: Convert the CSV
Open the free CSV to OFX converter. It runs in your browser, so the file stays on your computer.
- Drop in the CSV.
- Map the date column, the description column, and the amount column, or the debit and credit pair.
- Choose whether the account is a bank account or a credit card.
- Check the preview: money out should show as negative, and the row count should match your CSV.
- Download the file as QBO.
The converter writes each row as a transaction, generates a unique FITID for each one, and saves the file with a .qbo extension.
Step 3: Set the bank ID for QuickBooks Desktop
QuickBooks Desktop checks every Web Connect file for an Intuit bank ID, written as INTU.BID, and compares it with its list of participating banks. A converted file needs the ID of a bank on that list.
The reliable way to find yours: download any .qbo file from your bank, open it in Notepad or TextEdit, and copy the INTU.BID line. Then open the converted file and place that line directly after the closing </FI> tag:
<FI>
<ORG>Example Bank
<FID>12345
</FI>
<INTU.BID>12345
If your bank offers no QBO download, QuickBooks Desktop keeps its list of participating institutions in a text file named fidir.txt inside its program data folder, and you can search that file for the bank’s name and ID. Save the file as plain text and keep the .qbo extension.
Step 4: Import into QuickBooks Desktop
- Back up your company file. Bank feed imports are easier to redo from a backup.
- Choose File > Utilities > Import > Web Connect Files and select the converted file.
- Pick the existing bank account the transactions belong to.
- Open Banking > Bank Feeds > Bank Feeds Center and review the batch.
- Match transactions to existing entries, assign accounts to the rest, and add them to the register.
Check the result
Compare three numbers with the source: the count of transactions, the total of money in, and the total of money out. Then run a reconciliation for the period. When the ending balance agrees with the bank statement, the import is complete. How to do a bank reconciliation covers the steps.
Common problems and fixes
| Problem | Fix |
|---|---|
| QuickBooks is unable to verify the financial institution | Add your bank’s INTU.BID to the file, as in step 3 |
| Deposits and payments are reversed | Flip the sign setting in the converter, or multiply the amount column by -1 |
| Dates land in the wrong month | Tell the converter whether the CSV uses month-first or day-first dates |
| Transactions were imported twice | Convert each date range once. Re-converting creates new transaction IDs |
| The bank account is already linked to direct connect | Deactivate the bank feed for that account, import, then set it up again |
Starting from a PDF or Excel file
An Excel workbook converts the same way: use File > Save As > CSV, then follow the steps above. For a PDF statement, extract the transactions to CSV with StatementKit, which reads the table in the PDF and returns clean date, description, and amount columns. The complete route is in how to convert a PDF bank statement to QBO.
Frequently Asked Questions
Is there a free CSV to QBO converter?
Yes. The StatementKit CSV to OFX tool is free, needs no account, and offers OFX, QBO, and QFX downloads.
Does QuickBooks Online need a QBO file?
QuickBooks Online accepts CSV on its upload screen, so conversion is optional there. Many QuickBooks Online companies accept QBO, QFX, and OFX as well.
Will converting create duplicate transactions?
Each conversion assigns fresh transaction IDs. Convert a given date range once, and avoid overlapping ranges between files, and your register stays clean.
Can I convert QFX or QIF to QBO?
A QFX file shares the QBO structure, so converting it to CSV with the OFX to CSV tool and back to QBO works well. For QIF, export a CSV from the program that created it and convert that.
Convert your CSV now
The free CSV to OFX converter runs in your browser with no upload and no account. Map your columns and download OFX, QBO, or QFX.
Open the CSV to QBO Converter